Implementing Distributed Caching with Redis in ASP.NET
How to install Redis on Windows
Redis is an in-memory NoSQL database. It was originally developed for Linux and has not been officially ported to Windows. Therefore, there is no Windows installer on the official website. If you want to use it on Windows, here are the current methods:
Installing from the installer provided by Microsoft: Microsoft attempted to build a Windows version of Redis on GitHub, which can be downloaded here. However, using this version is not recommended for the following reasons:
- This repository is marked as read-only and archived. The last maintenance was on 2016/7/1, and the Redis version is 3.2. Today, Redis has reached version 7 (for changes before version 6.2, please refer to Major Version and Compatibility Differences). Compared to this, the version on GitHub is outdated, and there is no support for questions asked in the issues.
- Version 3.0.5 has a critical bug, and the Redis-64 package published on NuGet is also marked as "Deprecation".
- The release notes for 3.2.1 mention that although it passed all standard tests, it has not been tested in a production environment. It was originally released but later changed to a pre-release (as seen in the installation instructions on this Blog, the 3.2.1 version at that time was marked as Lasted-release, not the current Pre-release), indicating that Microsoft did not consider it a mature version.
Although others have attempted to port it, such as the repository "tporadowski/redis", which attempted to port Redis 5 to Windows, its stability may still require testing.
Memurai: Memurai is a Redis-compatible branch of Redis 5, and it has currently implemented features up to version 6.2. However, the Developer Edition only supports development and testing environments and does not support production.
WSL 2: The official website currently recommends using WSL2 for installation in a Windows environment. For detailed installation methods, please refer to "Install Redis on Windows".
Docker: For installation methods, please refer to the official Redis, Docker Hub redis, and Docker Hub redislabs/redis. You can see that there are two official Redis images on Docker. "redis" is the version maintained by the Docker vendor, while "redislabs/redis" is the version maintained by the Redis vendor. Currently, "redislabs/redis" is marked as supporting only development and testing environments, not production.
Installing with Memurai
Currently, it only supports 64-bit versions of Windows 10 and Windows Server 2012 or higher (2016 or higher is recommended).
Installation steps are as follows:
- Go to the official website download link and click "Download" for the Developer Edition.
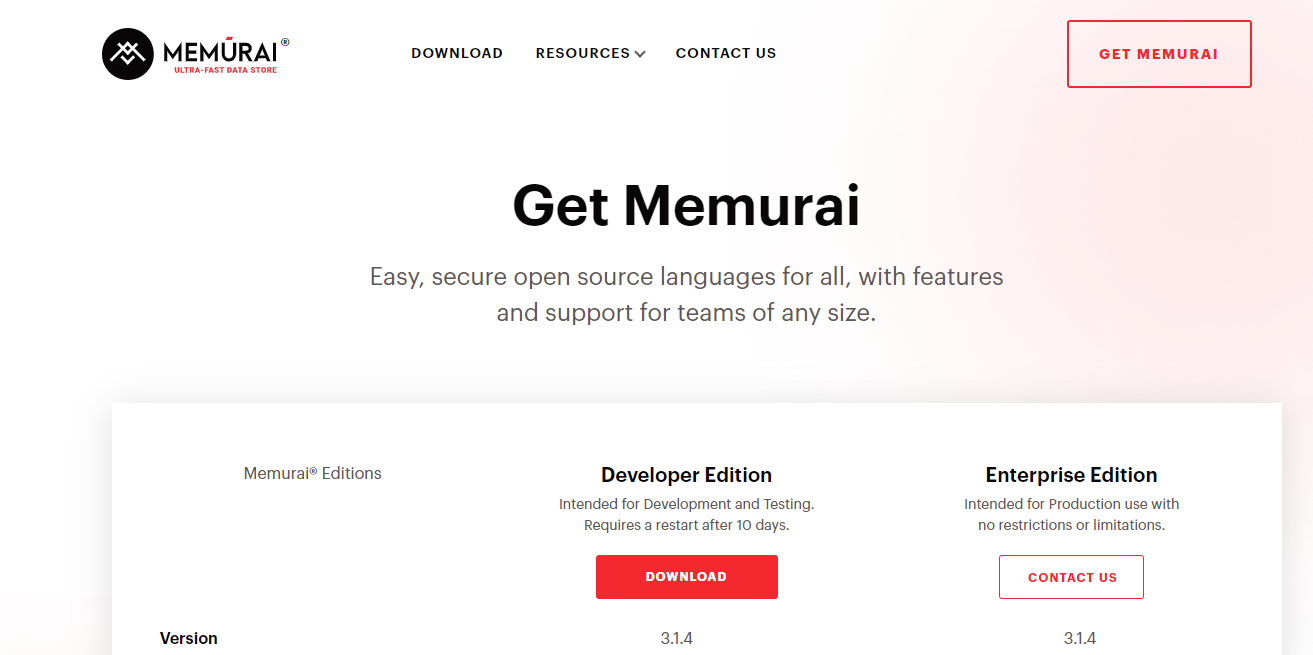
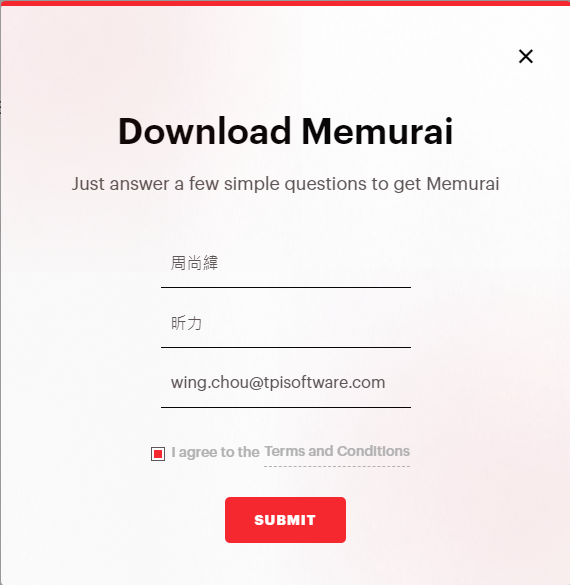
- You must fill in your information to download.
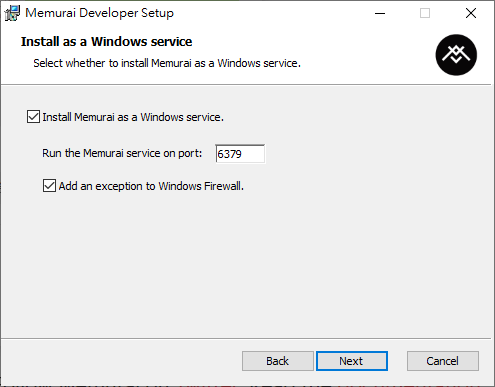
Click the downloaded installer "Memurai-Developer-v{Version}.msi" and click Next to install.
During installation, there is a step to note: you will set the Port and add a firewall exception. Ensure the Port is not already in use.
For additional installation settings, please refer to the official installation guide.
TIP
Since Memurai is a Redis-compatible branch, tools that connect to Redis can directly connect to the Memurai database. For example, Visual Studio can use the existing Redis connection package to connect to the Memurai database without changing any code.
Installing with Docker
Here we use the Redis Image provided by Docker to install.
If Redis is run without a "redis.conf" file, it will use default settings. If you need to adjust settings, since the Image does not include "redis.conf", you need to download the config file for the version you are installing from the official Redis configuration.
Adjust the local path for Volumes in "docker-compose.yml" according to your needs. Place "redis.conf" under the Config folder and use the command keyword to execute the Redis command to update the Config settings. The content is roughly as follows:
textversion: '3.8' services: Redis-Server: image: redis:7 container_name: Redis-Server ports: - 6379:6379 volumes: - .\Volumes\Data:/data - .\Volumes\Config:/usr/local/etc/redis command: redis-server /usr/local/etc/redis/redis.conf restart: alwaysOpen the Command Line, use the
cdcommand to switch to the directory where "docker-compose.yml" is located, and execute the commanddocker-compose up -d.
TIP
- When the Container is running, you might find that there are no files under the "/data" folder. This is normal. When you connect to Redis to write data or shut down the Container, you will see a "dump.rdb" file appear.
- If external connections to Redis fail, for local environments, you can refer to the content in Could not connect to Redis at 127.0.0.1:6379: Connection refused in docker to modify the following in "redis.conf":
- Comment out
bind 127.0.0.1 -::1. - Change
protected-mode yestoprotected-mode no.
- Comment out
- The
bindparameter sets the allowed network IPs for connection. You can set multiple IPs. If you only setbind 127.0.0.1 -::1, only the local environment can connect. - If the
protected-modeparameter is set toyes, you must have abindparameter or a password set. For password settings, please refer to the comments above therequirepassparameter; Redis 6 and older versions have different settings.
- If external connections to Redis fail, for local environments, you can refer to the content in Could not connect to Redis at 127.0.0.1:6379: Connection refused in docker to modify the following in "redis.conf":
Using Cache in ASP.NET Core
Code Example
- Framework: Razor Pages
- .NET Version: .NET 6
- NuGet Package: Microsoft.Extensions.Caching.Abstractions 6.0.0
Program.cs
builder.Services.AddMemoryCache();IndexModel.cshtml.cs
public class IndexModel : PageModel {
    private readonly IMemoryCache memoryCache;
    private const string CacheKey = "CacheKey";

    public IndexModel(IMemoryCache memoryCache) {
        this.memoryCache = memoryCache;
    }

    public DateTime CurrentDateTime { get; set; }

    public DateTime CacheCurrentDateTime { get; set; }

    public void OnGet() {
        CurrentDateTime = DateTime.Now;

        // If there is no cache data, update the cache time
        if (!memoryCache.TryGetValue(CacheKey, out DateTime cacheValue)) {
            cacheValue = CurrentDateTime;

            MemoryCacheEntryOptions cacheEntryOptions = new MemoryCacheEntryOptions()
                .SetAbsoluteExpiration(TimeSpan.FromMinutes(1)); // Set cache to expire after 1 minute

            _ = memoryCache.Set(CacheKey, cacheValue, cacheEntryOptions);
        }

        CacheCurrentDateTime = cacheValue;
    }
}IndexModel.cshtml
@page
@model IndexModel

<ul>
    <li>Current Time: @Model.CurrentDateTime</li>
    <li>Cache Time: @Model.CacheCurrentDateTime</li>
</ul>Execution Result
First visit, current time and cache time are the same.

Second visit, current time updates, cache time does not update.

Third visit after one minute, both current time and cache time update to the current time.

Absolute and Sliding
Microsoft's MemoryCache provides two cache expiration strategies, compared as follows:
- Absolute: Absolute expiration time; the cache data is deleted as soon as the time is reached.
- Sliding: Sets how long the data can remain unread before being cleared. If it is continuously read, the cache data will persist. Therefore, when cached data is subject to change, it is best to combine it with Absolute or
IChangeToken(.NET Framework usesChangeMonitor) to let the cache data expire.
MSDN Example
Cache in-memory in ASP.NET Core
Implementing Distributed Caching with Redis in ASP.NET Core
Code Example
Adjust the package and code from the previous example.
- NuGet Package: Microsoft.Extensions.Caching.StackExchangeRedis 6.0.10
Program.cs
builder.Services.AddStackExchangeRedisCache(options => {
    // Please replace Redis with the settings in appsettings.json
    options.Configuration = builder.Configuration.GetConnectionString("Redis");
    options.InstanceName = "SampleInstance";
});TIP
For GetConnectionString("Redis"), please set the Redis connection string in appsettings.json.
IndexModel.cshtml.cs
public class IndexModel : PageModel {
    private readonly IDistributedCache cache;
    private const string CacheKey = "CacheKey";

    public IndexModel(IDistributedCache cache) {
        this.cache = cache;
    }

    public string? CurrentDateTime { get; set; }

    public string? CacheCurrentDateTime { get; set; }

    public async Task OnGetAsync() {
        CurrentDateTime = DateTime.Now.ToString();

        string cachedValue = await cache.GetStringAsync(CacheKey);
        if (cachedValue is null) {
            DistributedCacheEntryOptions options = new() {
                AbsoluteExpirationRelativeToNow = TimeSpan.FromMinutes(1)
            };

            cachedValue = CurrentDateTime;
            await cache.SetStringAsync(CacheKey, cachedValue, options);
        }

        CacheCurrentDateTime = cachedValue;
    }
}WARNING
If there is only one App Server and no distributed architecture is used, there is actually no need to use Redis for distributed caching; using the original MemoryCache is sufficient. First, the performance of an App Server reading data directly from local memory is definitely better than reading cache data through a remote host. Second, the native API interface provided by IDistributedCache is not as rich as IMemoryCache. IMemoryCache provides extension methods to access different types of data, but the extension methods of IDistributedCache itself only support string. Therefore, it is recommended to extend the API according to project requirements when using IDistributedCache, which might be more convenient to use.
MSDN Documentation
Implementing Distributed Caching with Redis in ASP.NET Framework
Code Example
- Framework: MVC
- .NET Version: 4.8.1
- NuGet Package: StackExchange.Redis 2.6.70
RedisConnection.cs
public sealed class RedisConnection {
    private static readonly Lazy<RedisConnection> lazy = new Lazy<RedisConnection>(() => new RedisConnection());

    private RedisConnection() {
        ConnectionMultiplexer = ConnectionMultiplexer.Connect("127.0.0.1:6379");
    }

    public static RedisConnection Instance => lazy.Value;

    public ConnectionMultiplexer ConnectionMultiplexer { get; }
}HomeController
public class HomeController : Controller {
    private const string CacheKey = "CacheKey";

    public async Task<ActionResult> Index() {
        IDatabase db = RedisConnection.Instance.ConnectionMultiplexer.GetDatabase(0);
        ViewBag.CurrentDateTime = DateTime.Now.ToString();

        string encodedCachedValue = await db.StringGetAsync(CacheKey);
        if (encodedCachedValue != null) {
            ViewBag.CacheCurrentDateTime = encodedCachedValue;
        } else {
            encodedCachedValue = ViewBag.CurrentDateTime;
            _ = await db.StringSetAsync(CacheKey, encodedCachedValue, TimeSpan.FromMinutes(1));
                ViewBag.CacheCurrentDateTime = ViewBag.CurrentDateTime;
        }
        return View();
    }
}Index.cshtml
@{
    ViewBag.Title = "Home Page";
}

<ul>
    <li>Current Time: @ViewBag.CurrentDateTime</li>
    <li>Cache Time: @ViewBag.CacheCurrentDateTime</li>
</ul>References
Change Log
- 2022-11-02 Initial document created.